ONE || COMPOSITION
This was basically drilled into my brain in art school and as an art teacher, myself, I couldn’t stop preaching it to my own students. Composition is the way something is made up –the arrangement of objects on a picture plane. Obviously the way you arrange the objects for your flat lay determines if it will be a strong image or not. My biggest tip when creating your composition is to make sure the 4 corners are different. So when you look at your image, each corner of the composition should look different from the others.

In this image, I’ve placed an object right in the middle of the surface and all 4 corners look identical.

In this image, I’ve added more objects in each corner to make the image stronger. Each corner is completely different from the others.
Another tip is to make things “go off the page” or “out of frame”. Crop the image in way that has items extending past what you can see –this will also make your composition way more interesting than if everything is centered in the middle with negative space around.

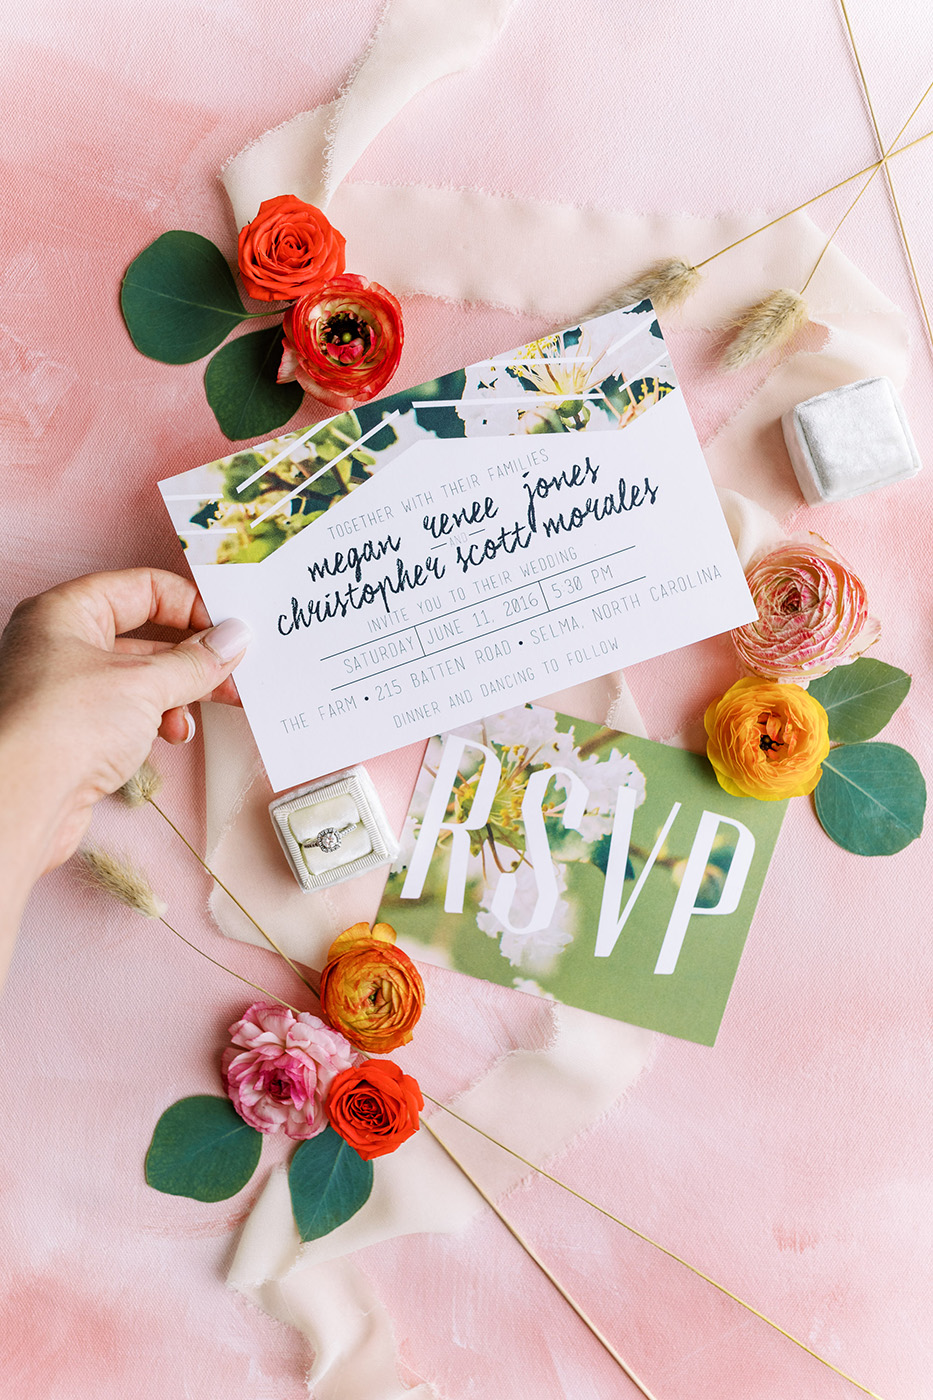
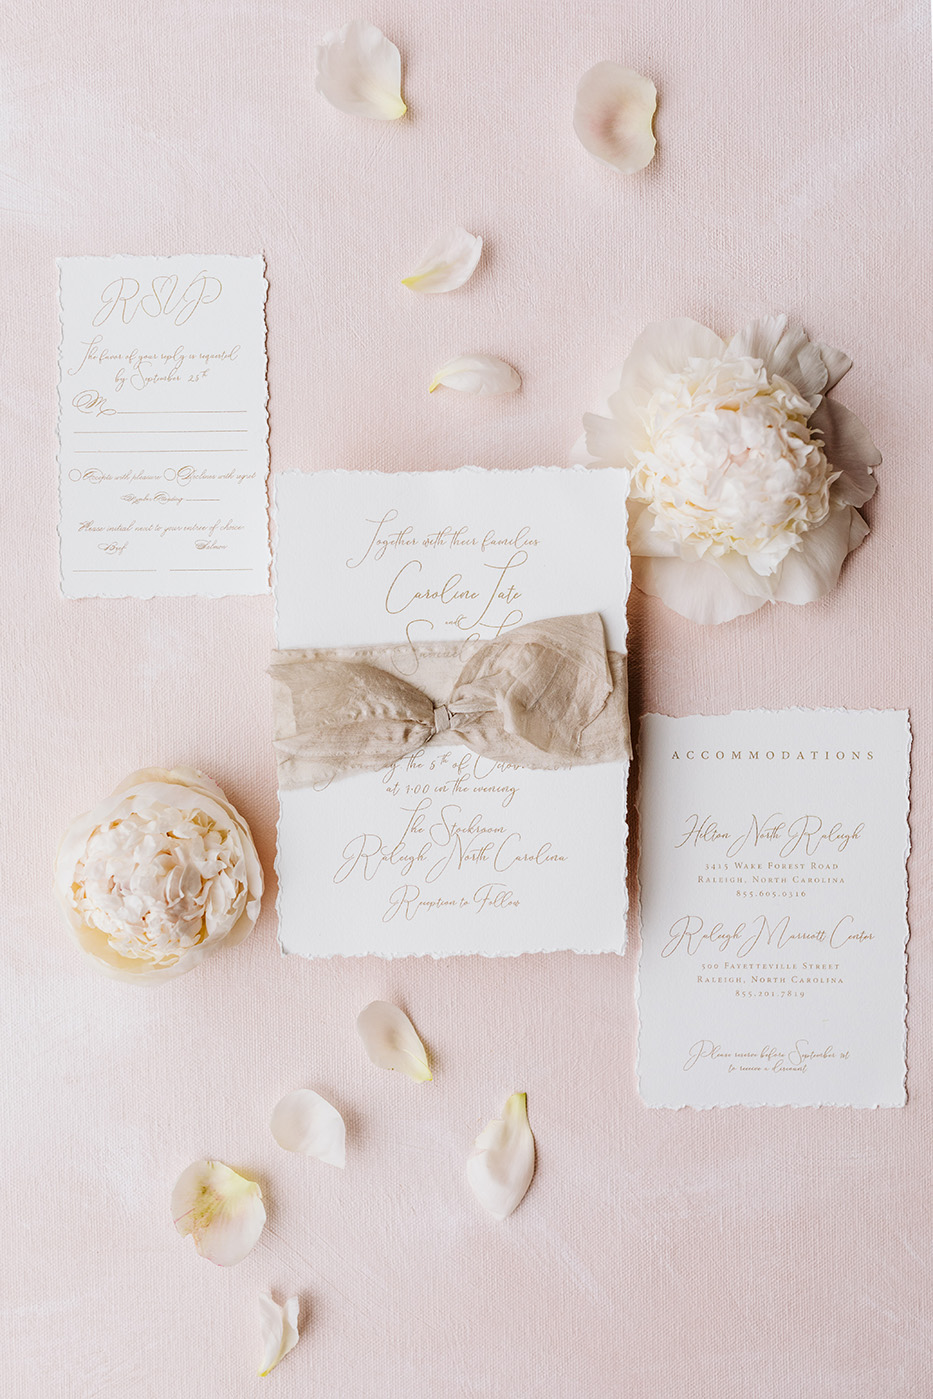
TWO || CREATE DEPTH
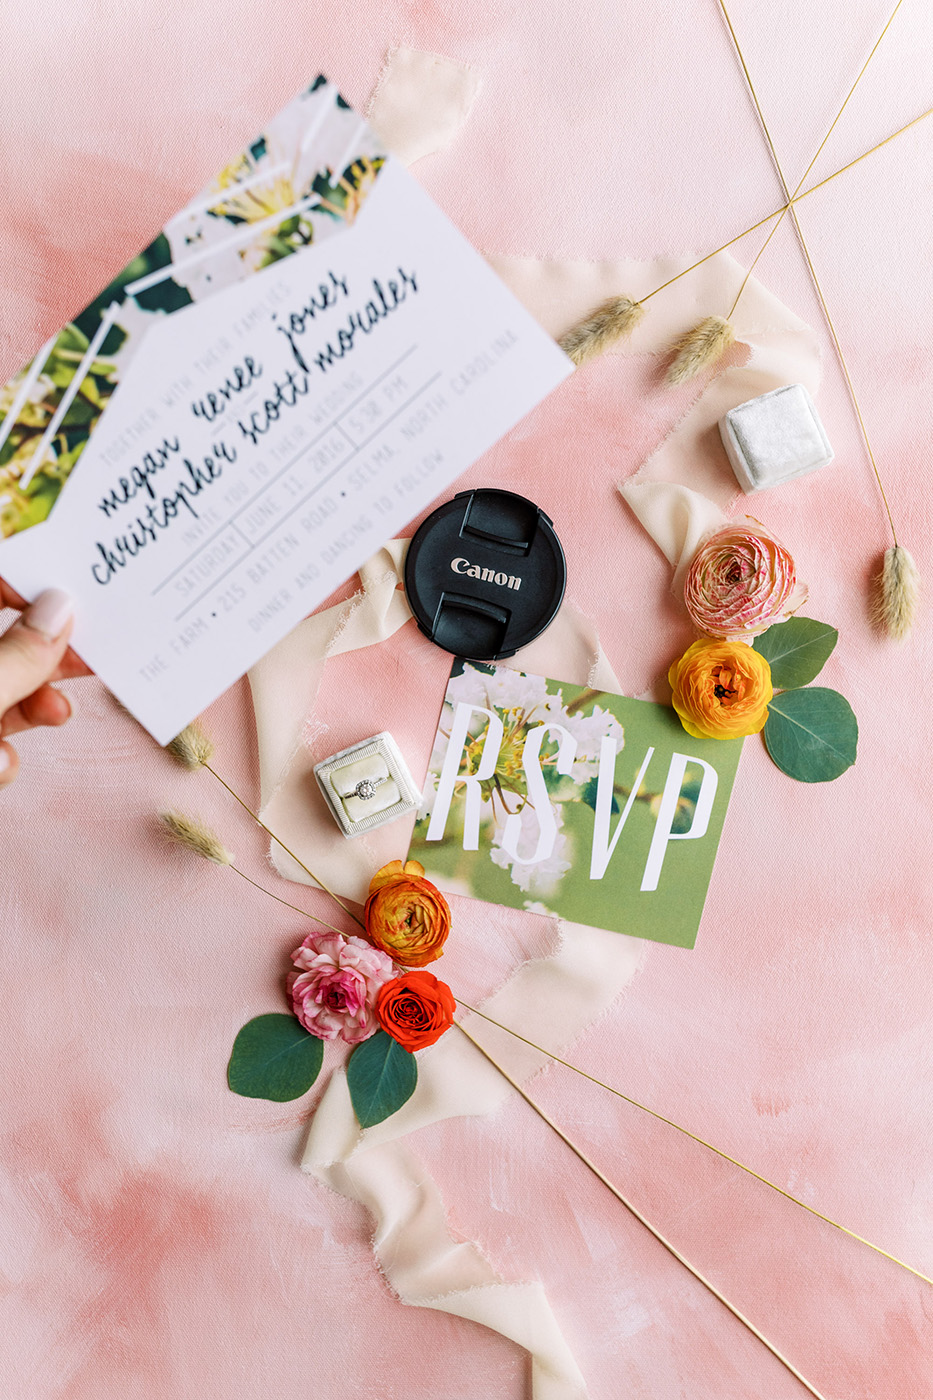
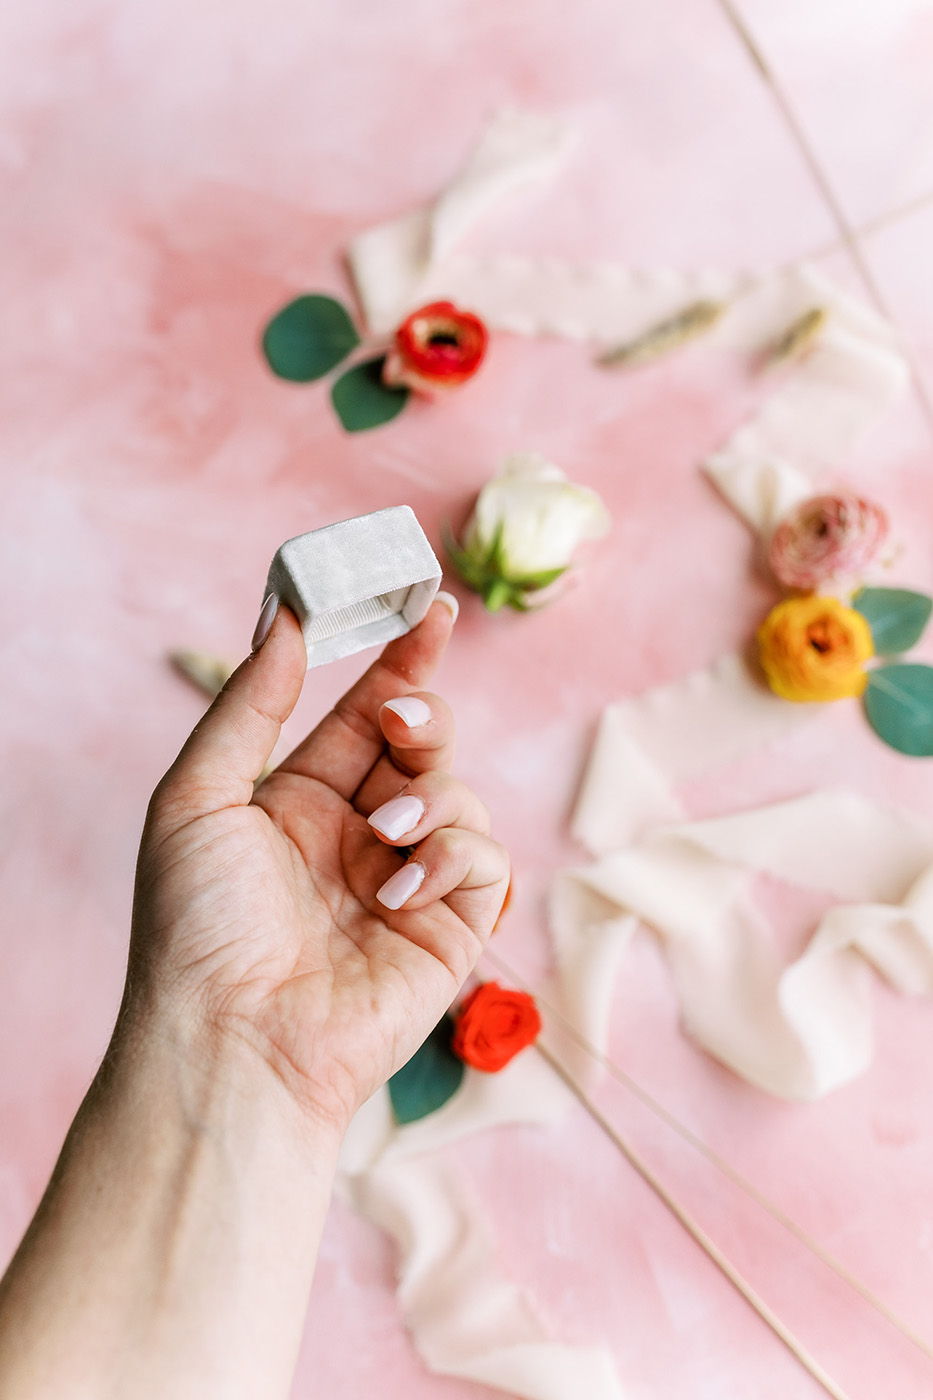
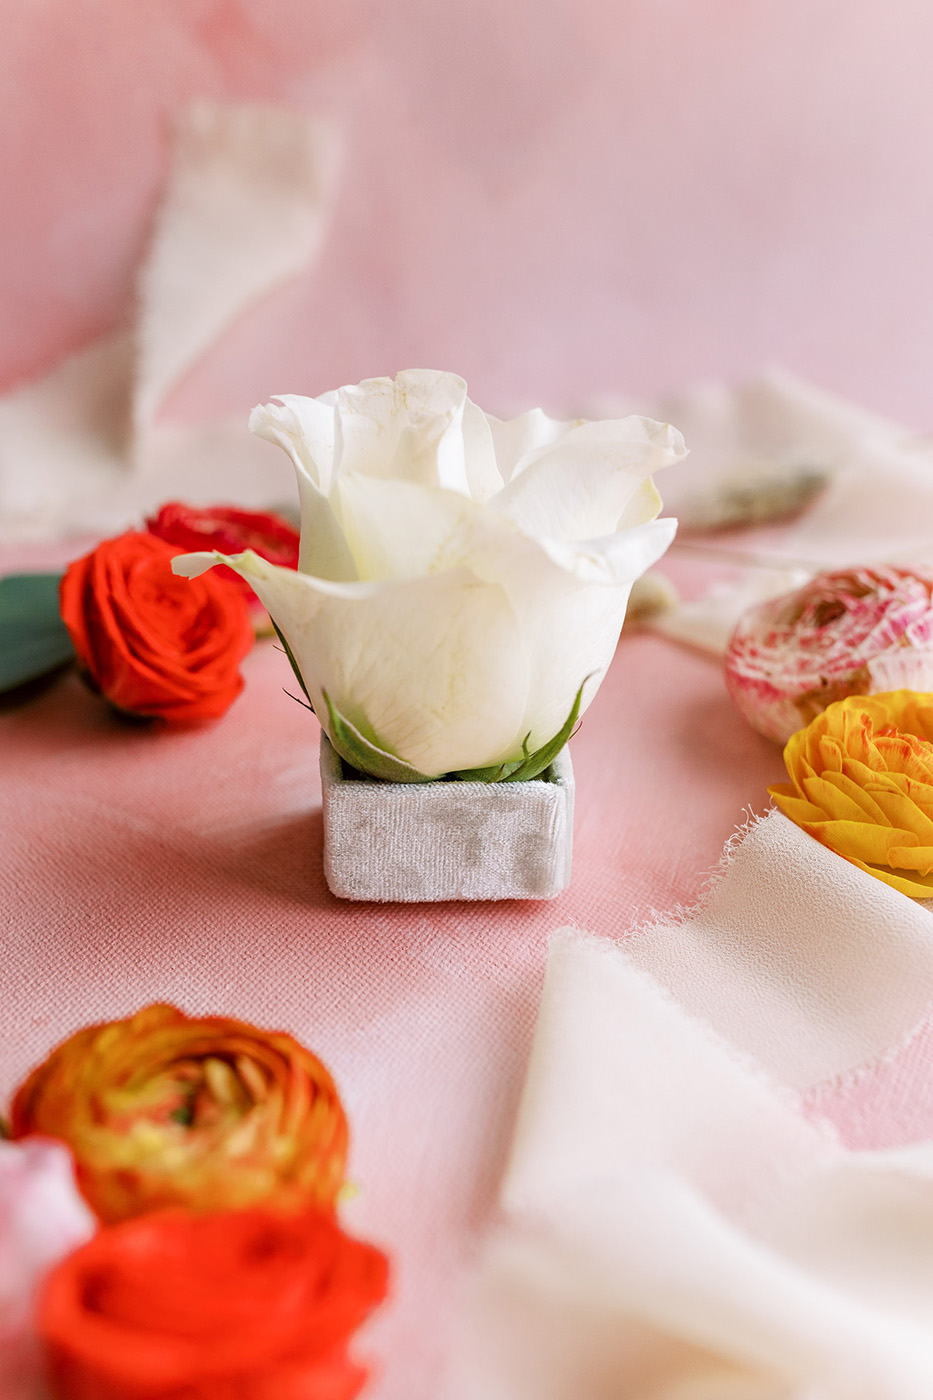
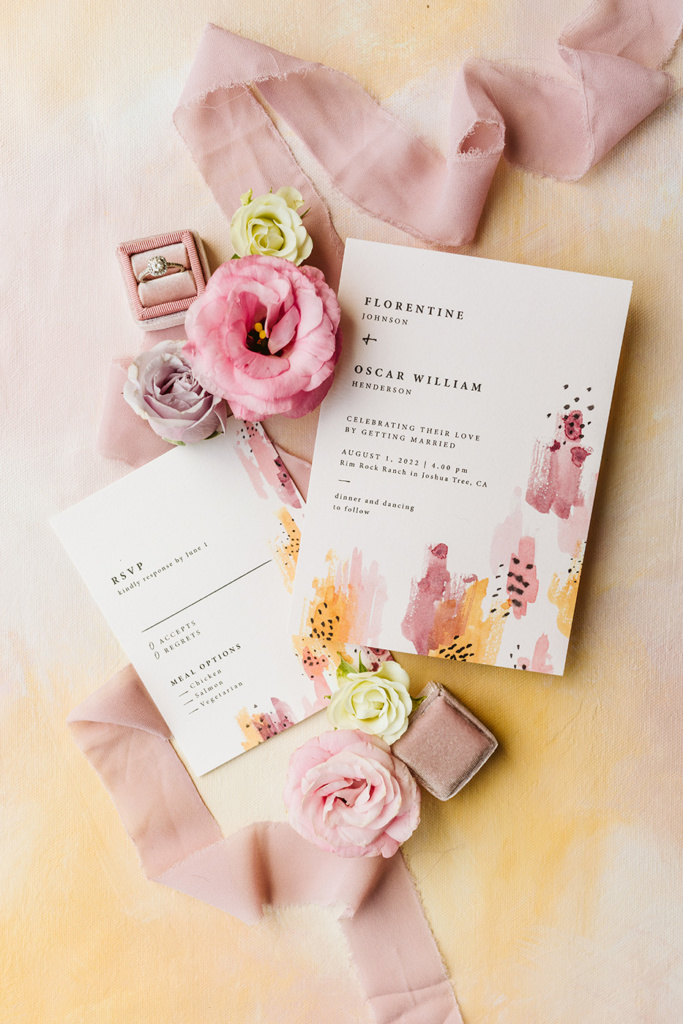
Even though we call it a flat lay, we don’t want it to look flat so we need to create depth somehow. When photographing an invitation suite, the easiest way to do this is to have your invitations on different levels from one another. I use my LENS CAPS to do this. Normally, I will put a lens cap under the main invitation to elevate it and have the other cards (details, rsvp, envelope, etc) either flat on the surface or with something a bit smaller underneath. Sometimes I will use the lids to my ring boxes for this task as well.
Another great idea for those ring box lids is to balance flowers (if you have those to style with). It’s hard to trim the stem of a flower to get it to lay perfectly flat if you don’t have scissors or something to cut with so using the ring box lid is perfect for this. Just trim the stem as best you can and if it doesn’t lay flat and pretty, pop the lid under it to give it some support and depth.
THREE || MATERIALS
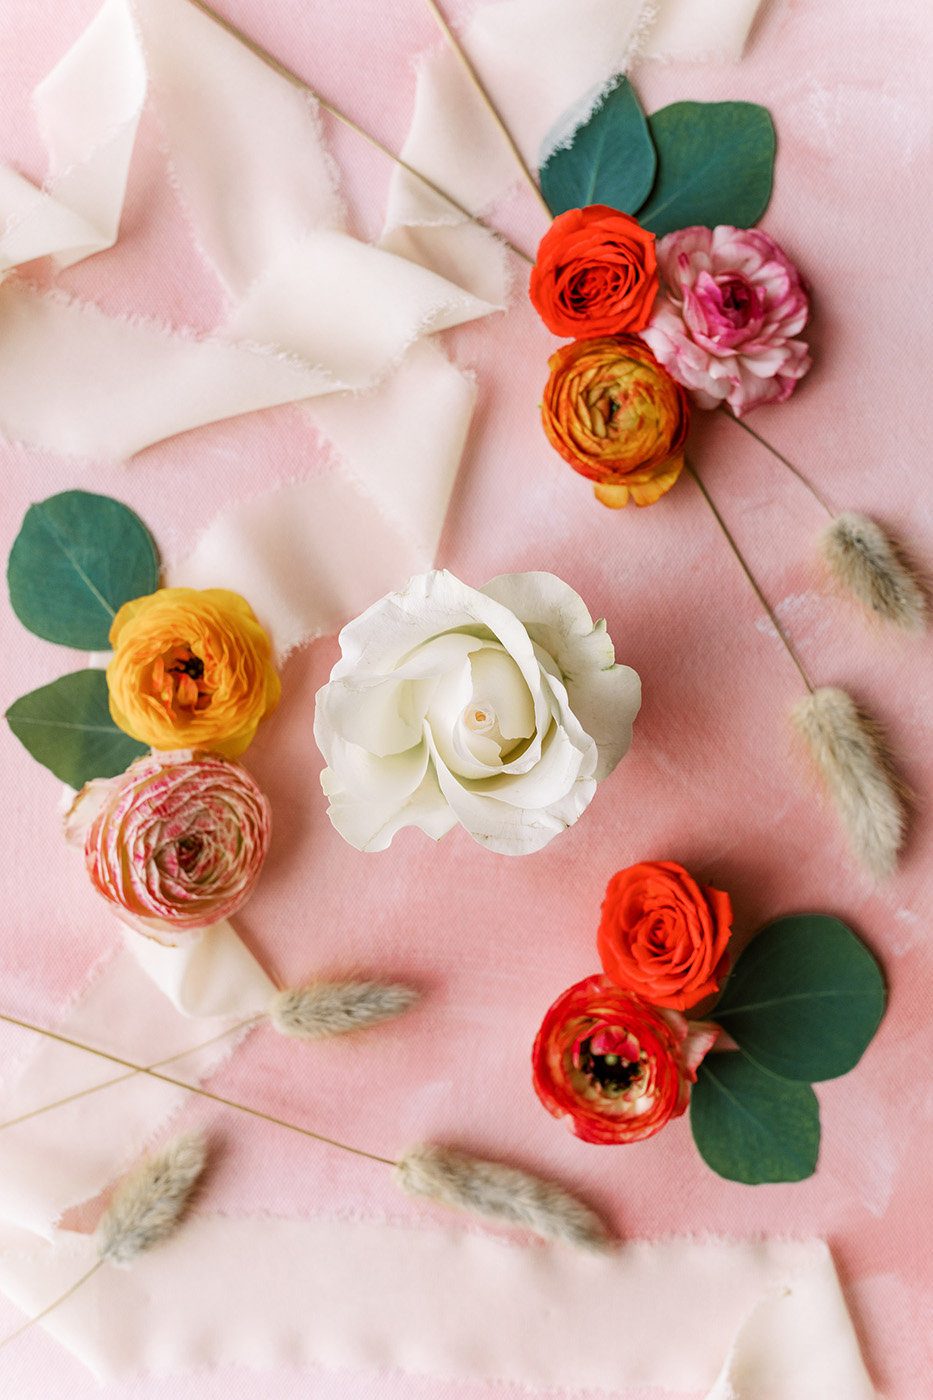
A perfect way to take your styling to the next level is by having materials to elevate the overall look. Styling mat, ribbon, flowers, ring boxes –any and ALL of this. So many creatives sell these items so they are not hard to find. It just might be hard to choose which ones you’re going to purchase because every wedding is different and has it’s own vibe. I use to make my own linen styling boards with fabric from JOANN’s and staple it to canvases. Once that wasn’t doing enough for me I decided to hand-paint canvas mats in the exact colors I wanted. Both of these options were really great but were a hassle to carry around on a wedding day so I discovered roll-able styling mats and decided to hand-paint my own. Back in August 2019 I decided to start selling them because I loved them so much! You can find them in my etsy shop. As far as ribbon and ring boxes, they are all over etsy as well and I’ve purchased from different shops and love them all.

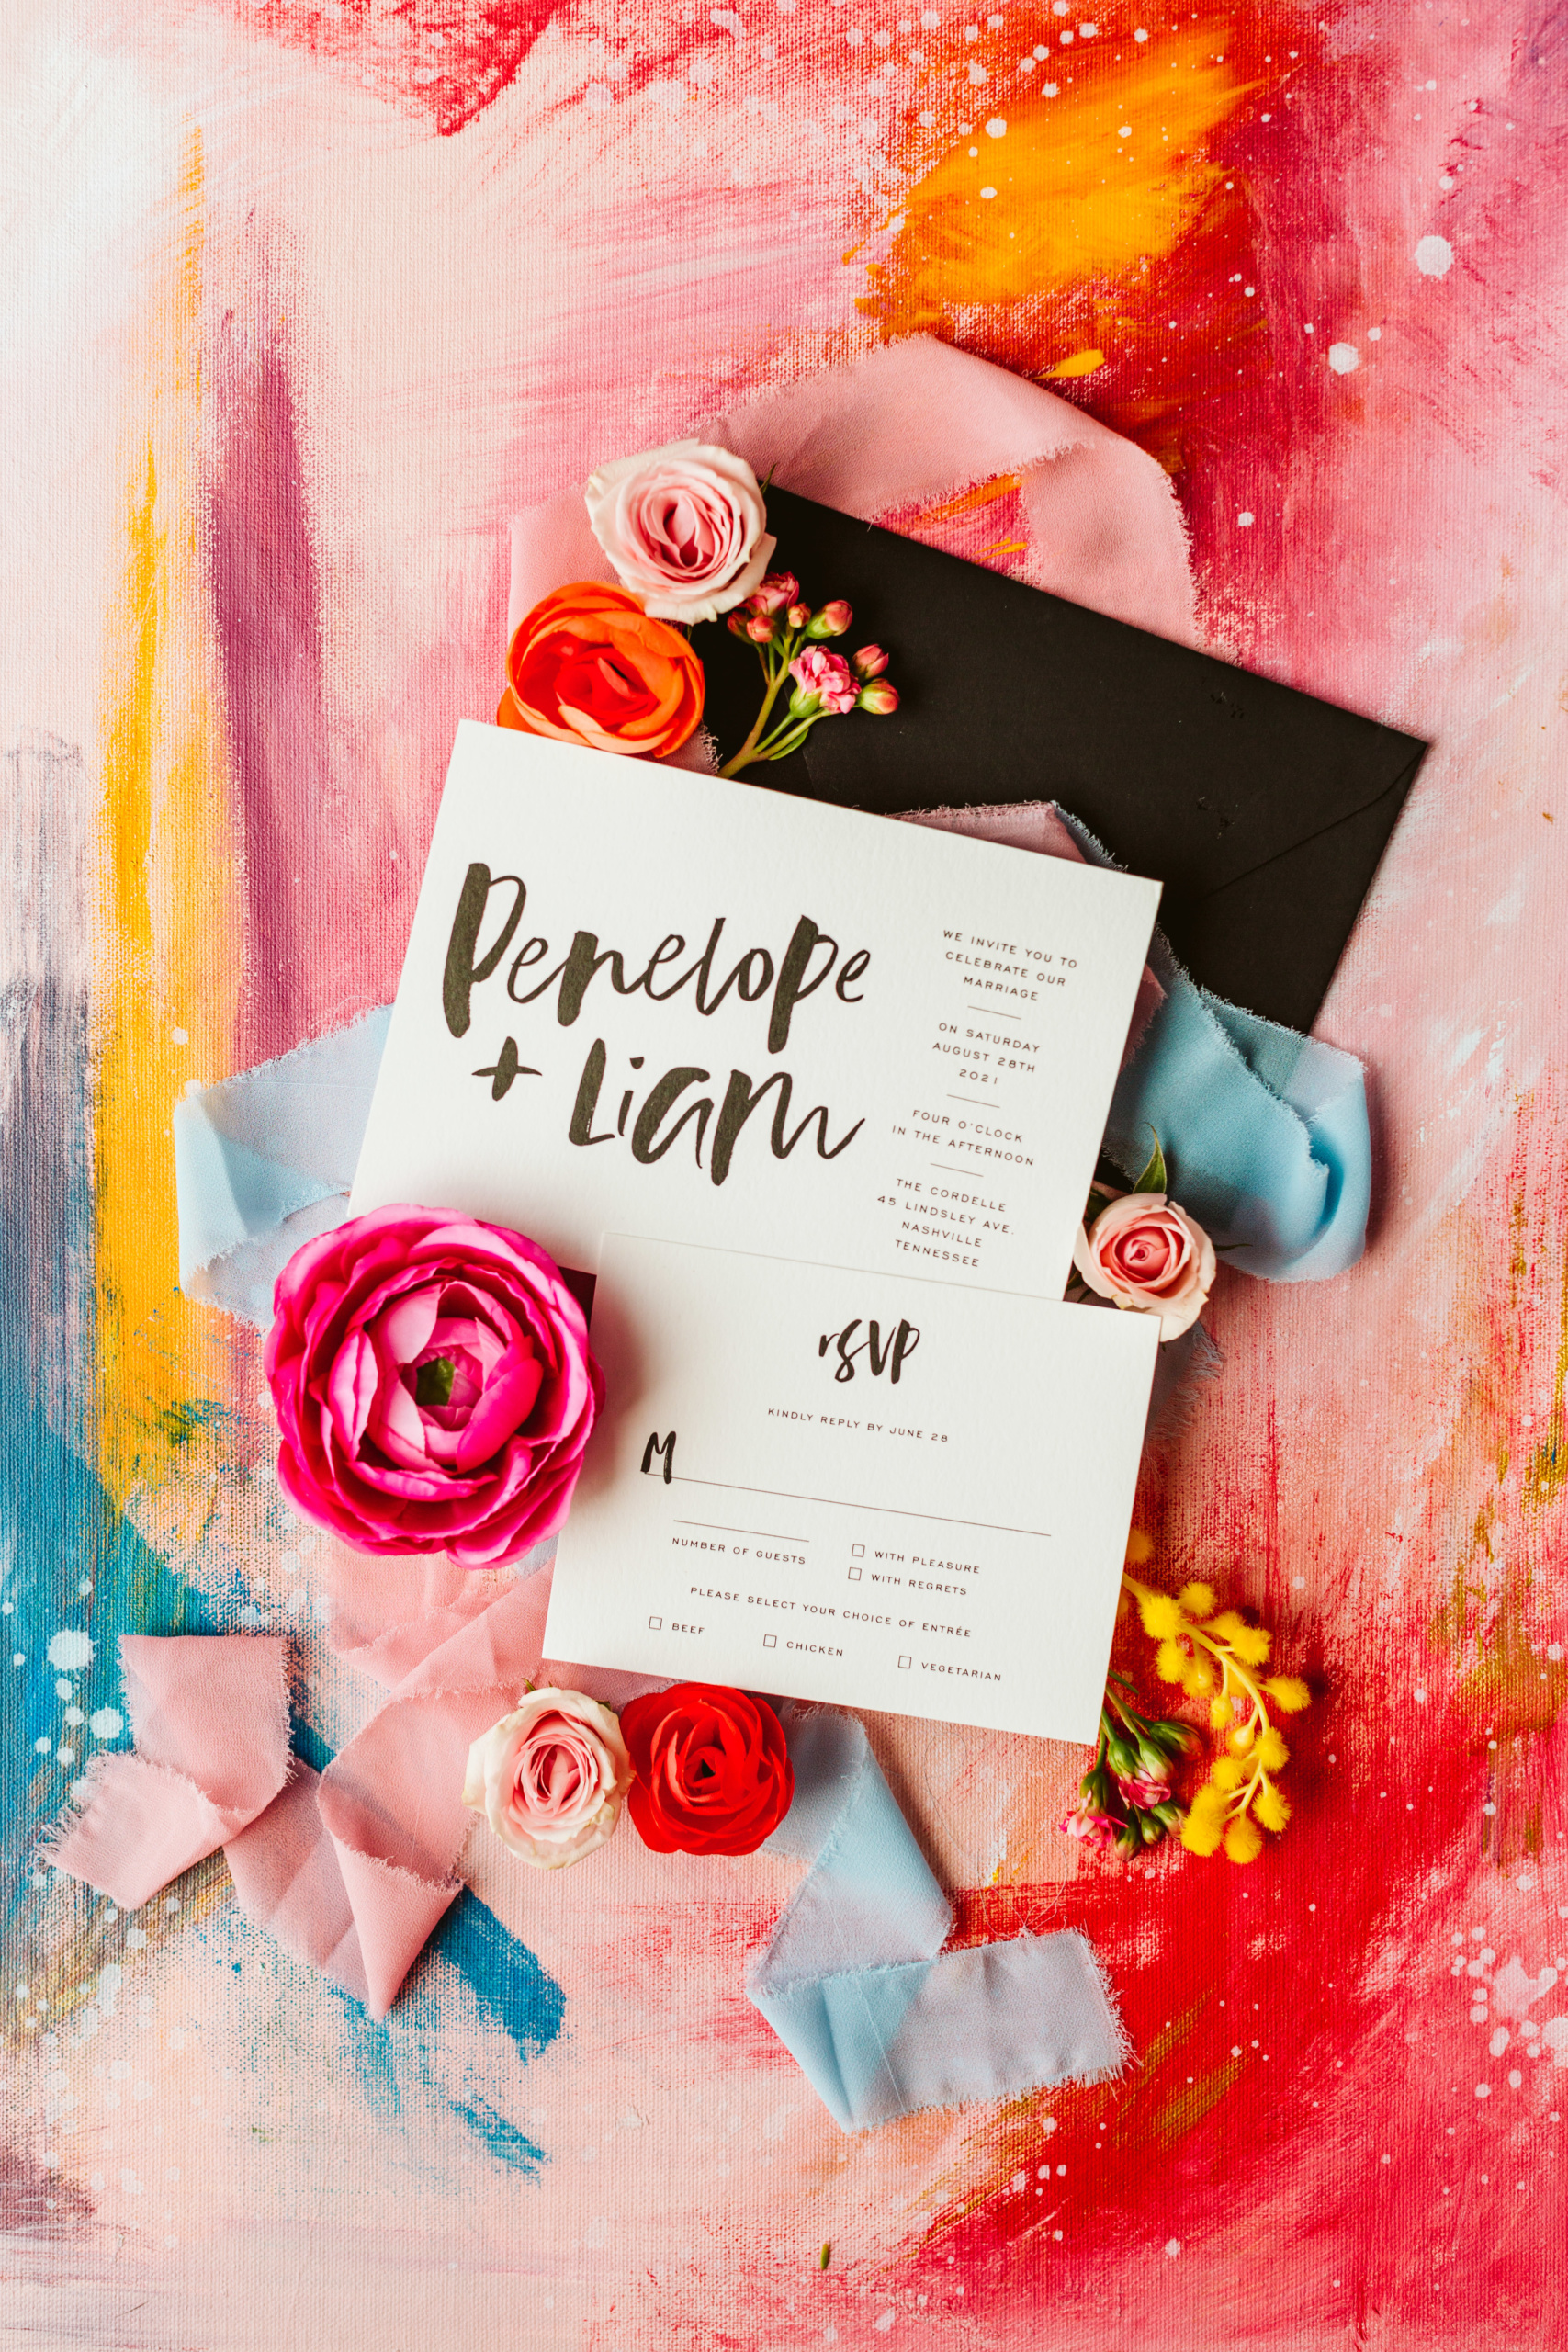
On wedding days, I usually ask the florist to save a few loose stems for me to style with so that it pulls everything together to match the overall look of the wedding. If flowers aren’t available, look around –there’s always something you could use to spruce up your image.
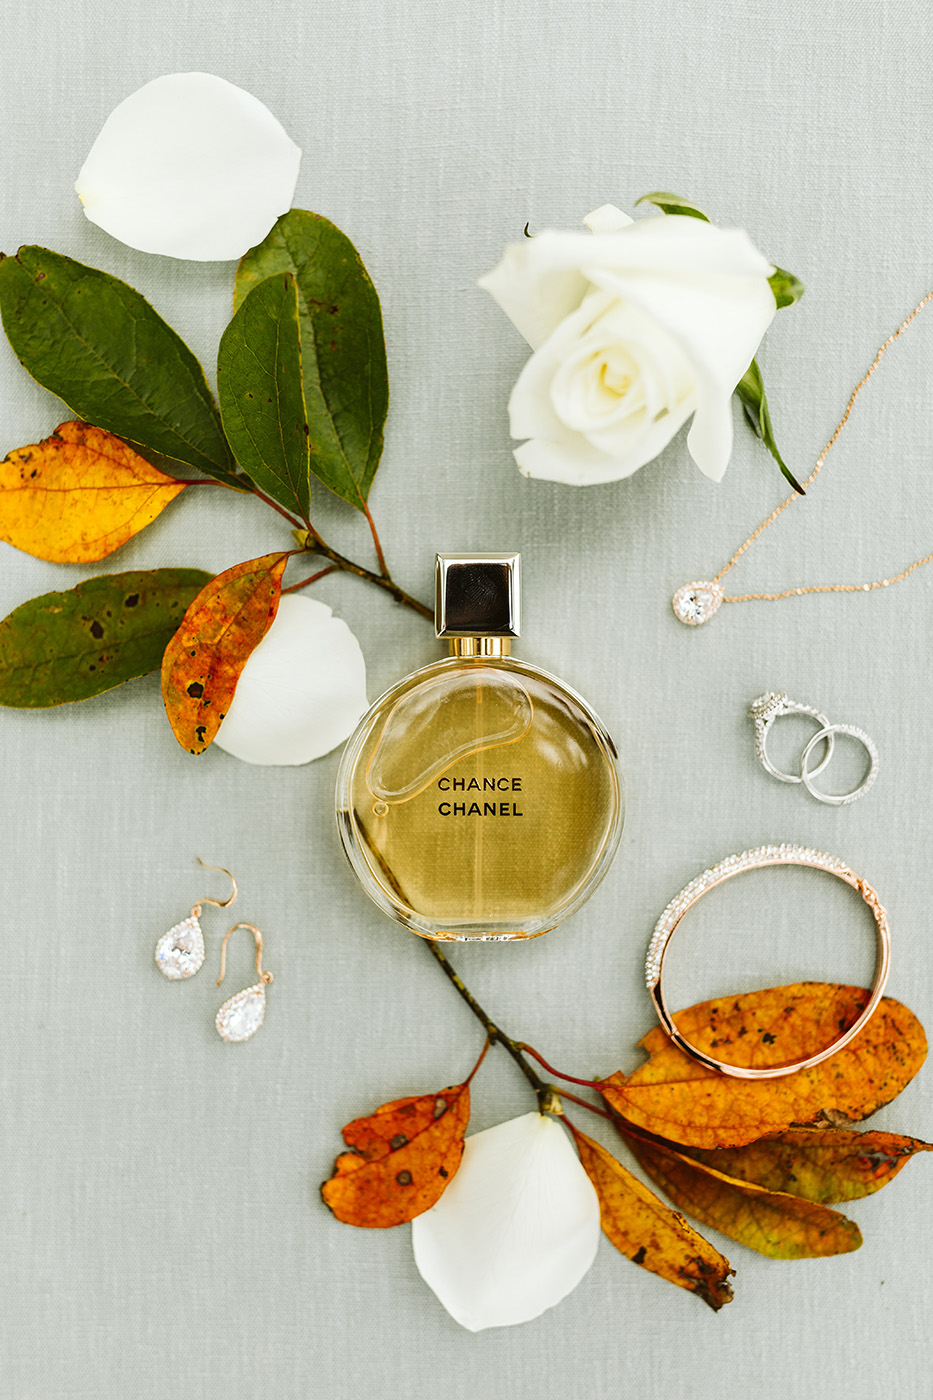
for this one, I grabbed some leaves from a tree
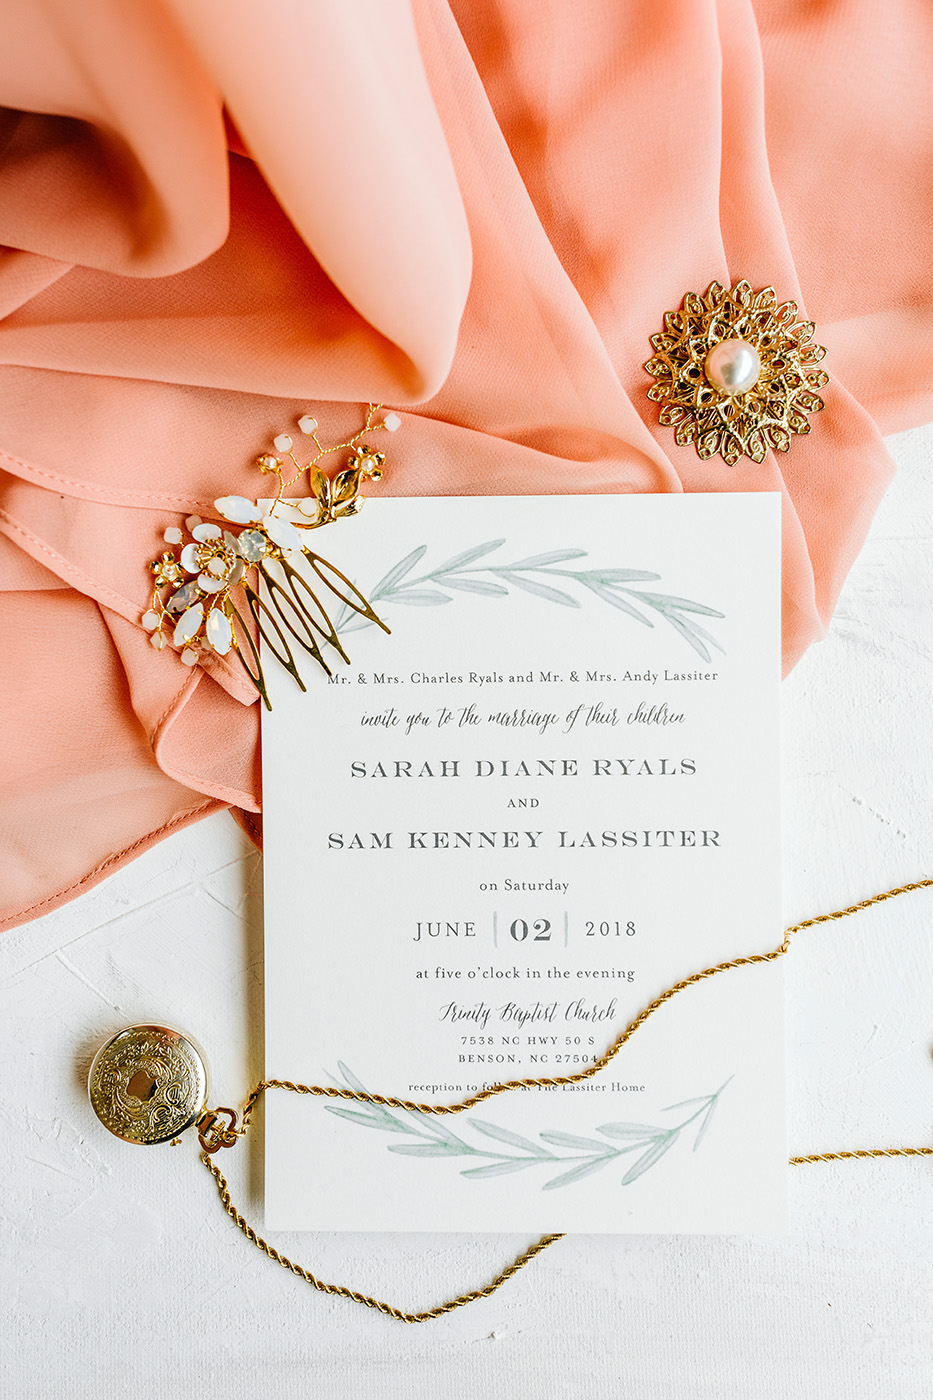
the pink fabric is from a bridesmaids dress
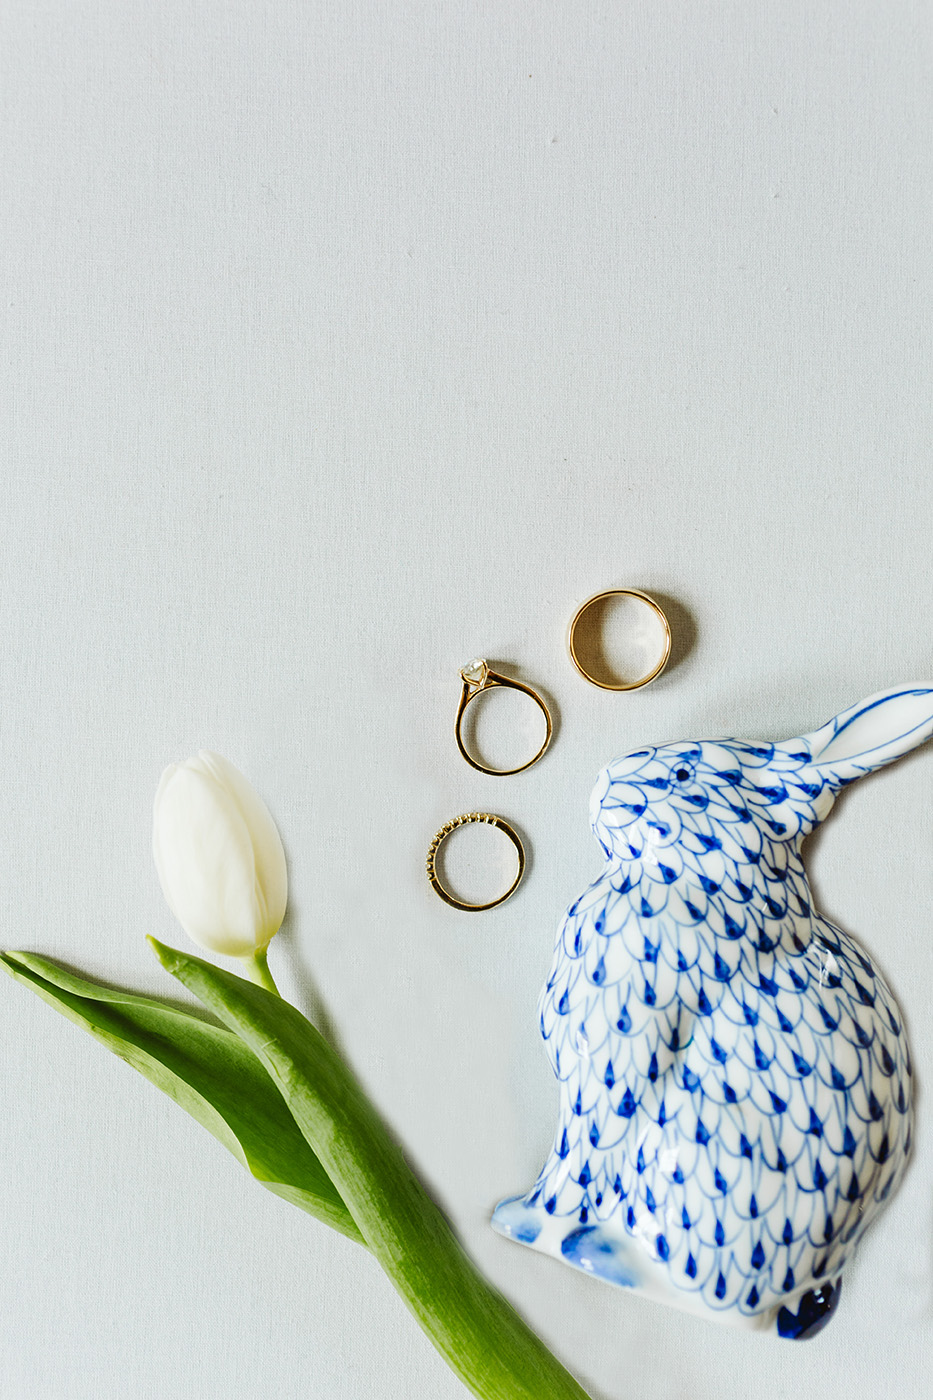
the bunny was part of the reception table decor

